
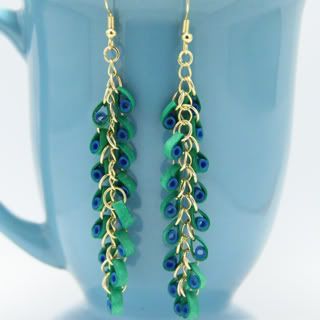
Learn some great tips on how to make your own paper quilling hair clips and other accessories! This post has been moved to my new blog. Click here to read it and be sure to subscribe if you want to see all further tutorials and quilling ideas!


Learn some great tips on how to make your own paper quilling hair clips and other accessories! This post has been moved to my new blog. Click here to read it and be sure to subscribe if you want to see all further tutorials and quilling ideas!
Filed under DIY, Hair Accessories, quilling, Tutorials


Part of the Etsy Expat team!


So cute! i love your work.
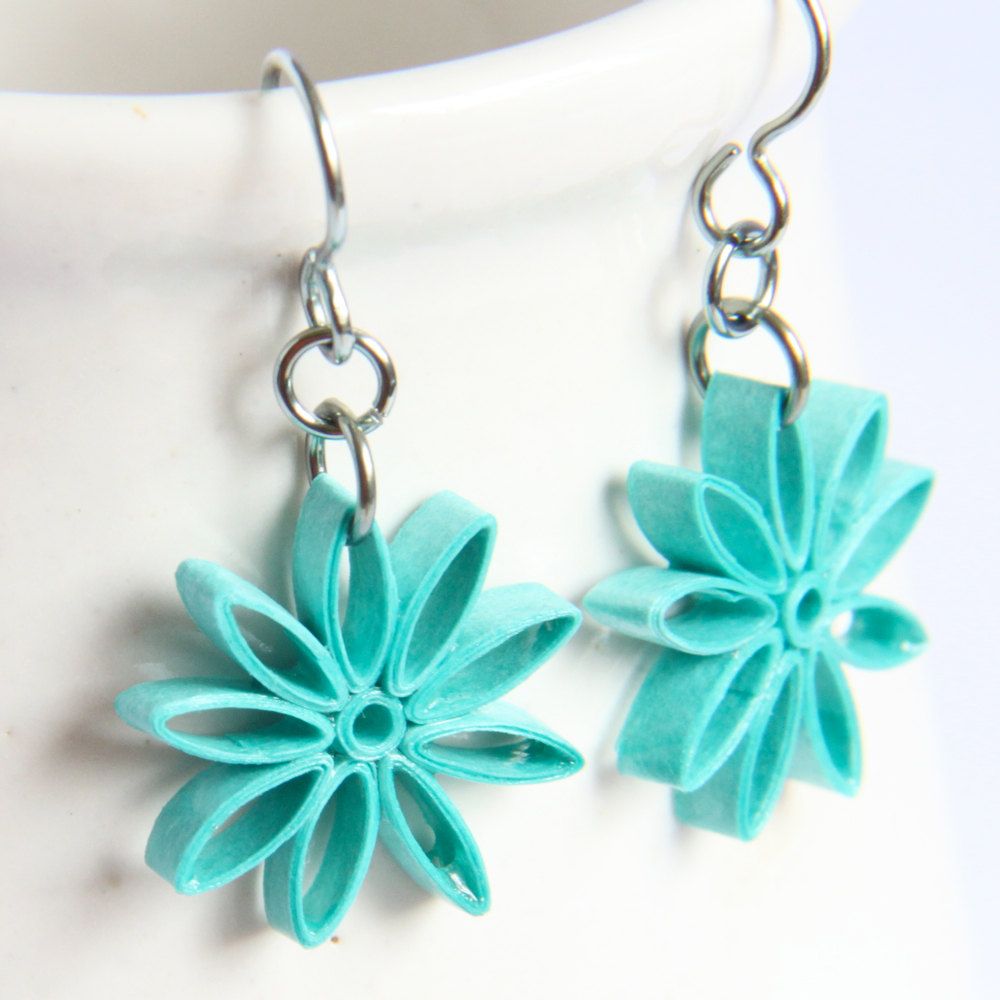
Pingback: Make Your Own Paper Quilling Daisy Earrings | Honey's Quilling
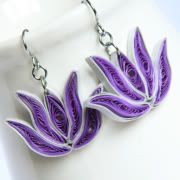
Pingback: DIY Paper Quilled Flower Earrings | Honey's Quilling
Pingback: A Look Back at 2011 | Honey's Quilling
Pingback: 2012 in Review | Honey's Quilling
Nice work..
I have published some of my paper quilling art at http://www.pquilling.com
Let me know what you think of it..
That is some very cute 3D quilling, thanks for sharing!
Hi, what brand of hot glue gun will work for the clips?? I was struggling to stick it in the snap hairclip too. Pls help. 🙂
Hi 🙂 I do not think the brand of hot glue gun would make much of a difference. Just follow the suggestions of using the clips with the plastic pad, and warming up the pad before applying the glue. Also, apply the paper quilling to the hot glue before putting any sealant on it.
Pingback: Make Your Own Paper Quilled Daisy Earrings | Honey's Quilling
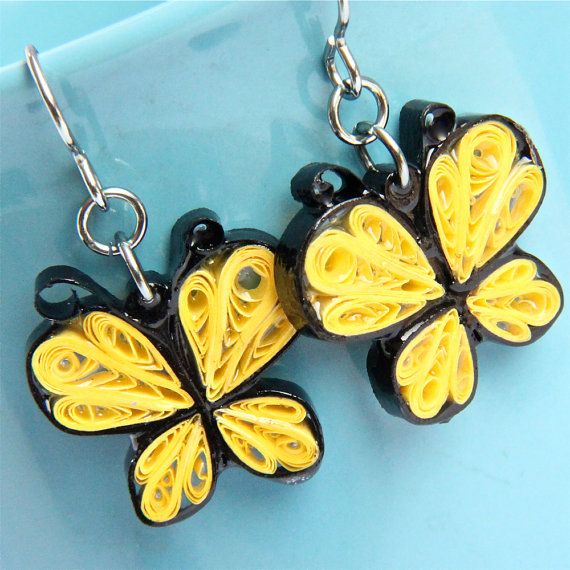
Pingback: Make Your Own Paper Quilled Butterfly Earrings | Honey's Quilling
I LOVE HONEY,THANKS FOR SHARING:-)
HI ,how u paseted quilled design on hairpins?which glue u used for that?
Hi, I used a hot glue gun 🙂 But for it to work, you need to use the hairpin that has a plastic pad on it specially for gluing onto.
Lovely.