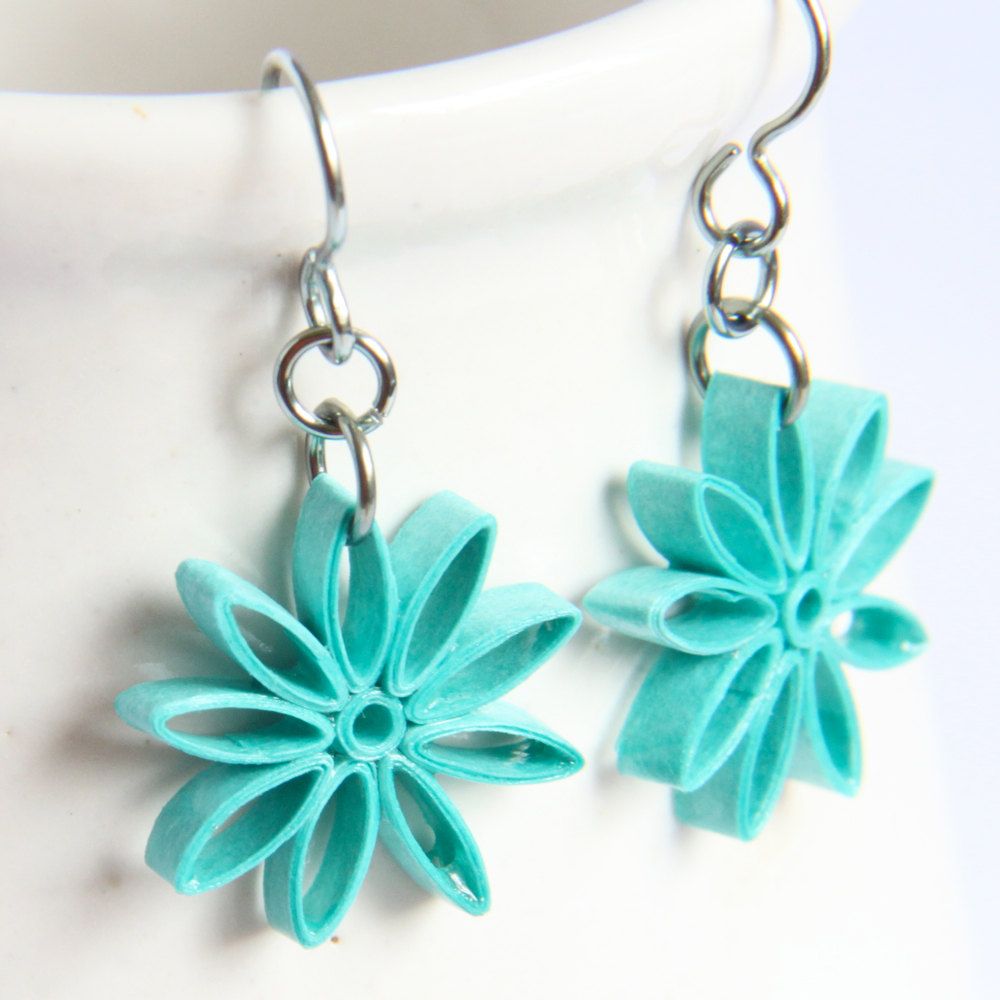
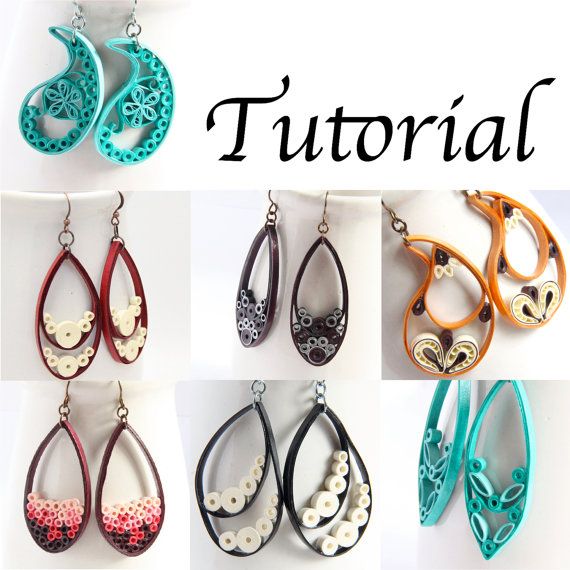
As promised, I have for you today another free tutorial for making paper quilled earrings! This is a very basic design idea, but has such fabulous and elegant results! Depending on the colors, size, and other variations you choose you can use these earrings with your casual, office, or even evening wear!
First of all, when making paper chain earrings the technique I use is to make open circles. This means that I roll the paper around something wide, not around the tip of a quilling tool as usual. For my usual beads, I use the end of my aluminum quilling tool (find it here on Honey’s Quilling or here on etsy) to roll the paper around. Here is the basic technique for making the paper beads:
Take your strip of paper and wrap the end around the end of your aluminum tool (or any other object you are using instead. The diameter of the end of my tool is 3/16″ or 4.5mm). Place a tiny tab of glue at the end of your paper.
Hold the end with the dab of glue and make sure it tucks under the strip as you start rolling. Roll the strip of paper around the tool.
Once you come to the end of the strip place another dab of glue at the end and glue it tightly. Carefully twist the bead off of the tool without squishing it.
So, those are the basic instructions on how to make the paper beads! For my chain earrings I use this tool and a strip of paper that is 6 inches long. I like using quilling paper from Lake City Crafts because it is 24″ long. Therefore I just have to rip/cut each strip into four pieces and I can make four beads! Most of the papers that I sell on Honey’s Quilling (and I can also sell them on etsy as a custom order if anyone is interested) are from Lake City Crafts since they are the paper that I use the most and I love the 24″ length.
The next step is to add sealant to your beads so that they are more sturdy and they are water resistant. This is not necessary if you are just making the earrings for yourself and you don’t mind re-making them once in awhile if something happens to them. But if you’d like them to be long lasting, definitely add a sealant to them. You can use any sealant or top coat you find in a craft store. I have tried a few brands and all seem to work well. For these beads I usually use a more liquid sealant and I dip the beads, let them sit in the sealant for a few seconds, dab them on a tissue, and set them on a plastic surface to dry completely. Depending on the sealant I use I may just need one coat or I may need to use several coats.
When your beads are dry and sealed, it’s time to put them together! I find that for paper that is 1/8″ in width that I use for these beads I use jump rings that are 6mm. You can also use 7mm. I find that 5mm is just a little too squishy for this size. But if you use narrow width paper you can get away with using 5mm jump rings. You could even make these beads with 1/4″ wide paper if you use big enough jump rings! That would be a pretty cool look!
Here are some photos of earrings that I have made with the basic paper bead made with 6″ long paper on the end of the aluminum tool. I like the rainbow ones because they are so fun and fresh, a perfect look for summer! But my very favorite are the ones made from the metallic papers. They really don’t look like they are made from paper! The longer ones that I made and looped around are very elegant looking.
There are also many other variations you can do on this paper chain design! One of my favorite variations is to do a bright color regular bead, and then put a layer of metallic paper or silver trim paper just on the outside edge. What you do is make the bead as above. After taking it off of the tool, glue the end of a piece of metallic/trim paper onto the bead. Wrap it around just once and cut it the right length. Glue the end in place. Here are some examples:
Yet another variation is to make a different sized bead. I like the look of these larger beads for a fun change!
For these I use a different tool instead of the end of my aluminum quilling tool. I use the end of a pen that I have that has a nice smooth barrel. You can use any object really, just experiment! For a larger object you will need a longer piece of paper. Try 9″ or 12″ and see what you like. The longer the paper is the thicker and stronger the bead will be. Of course if they are much thicker you will need a bigger jump ring size, so just experiment and find a combo that works well for the materials you have on hand.
Looking for more tutorials and patterns? Find some free ones here, and find some longer and more detailed ones here for sale in my Etsy shop!


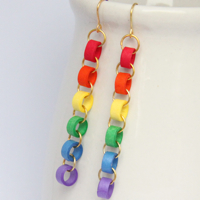
Pingback: Free Tutorial for Paper Quilled Chain Earrings | Honey's Quilling
these are simple ,but awesome love it!!!
Yes, simple but awesome sums them up!!
fantastic, I saw your work, amazing
you are greate inspration, Thank you
Hey,
These are really easy to make and fun to wear…
Great Work…
it was realy perfect & fantastic,but i have 1 question and that is i live in iran and i wanna know that what they say to crystal glaze in persian please let me know becuse i realy want to make them but i don’t have crystal glaze,please send the answer to my email
Hi
I am not sure what they would call crystal glaze or sealant in Persian. Do you have any craft stores near where you live? Most craft stores will have some sort of sealant. Try to explain to the shop the purpose of the sealant that you want. Say that you want it to use for paper and you want it to make the paper sturdy and water resistant. You should be able to find something that will work. You can also order from here: http://www.honeysquilling.com/products-page/glues-adhesives-and-sealants/ I also have a post explaining how each of these sealants work: http://honeysquilling.wordpress.com/2012/07/12/how-to-use-sealant-with-your-paper-quilling/
great work!
Pingback: 2012 in Review | Honey's Quilling
Pingback: Quilling Jewels | Estroo